Introduction
In the world of fashion design, few tools are as fundamental as the fashion croquis. Often overlooked by beginners, croquis are essential for translating design ideas into visual concepts. They act as the skeletal foundation upon which clothing designs are drawn, allowing designers to focus on garment details without worrying about anatomy and proportion each time they sketch.
A croquis (pronounced crow-kee) is more than just a stylized figure—it’s a designer’s canvas, a template that brings their vision to life. This article explores everything you need to know about fashion croquis: what they are, why they’re important, and how to draw them step-by-step, both by hand and digitally.
- What Is a Fashion Croquis?
The term croquis is derived from French and means “sketch.” In fashion, a croquis refers to a quick sketch of a model figure, typically in a standard pose, which designers use as a base to draw garments. Croquis are not hyper-realistic human figures—they are elongated, stylized forms that emphasize proportions ideal for fashion design.
Characteristics of a Fashion Croquis
- Stylized and elongated: Typically 9–10 heads tall (as opposed to the 7–8 heads of a real human).
- Minimal detail: Focus is on posture and body shape, not facial features or intricate anatomy.
- Neutral poses: The most common pose is a standing front-facing figure with symmetrical limbs.
- Modular: Designers often use the same croquis repeatedly to keep their sketches consistent.
Why Use a Croquis?
- Saves Time: You don’t have to redraw the human figure every time you design a new garment.
- Consistency: Your designs will appear uniform across a collection.
- Focus on Fashion: By using a croquis, you can concentrate solely on the garment’s design, flow, and detailing.
- Professional Presentation: A clean, consistent croquis enhances the visual appeal of your fashion illustrations.
- Fashion CroquisThrough the Ages
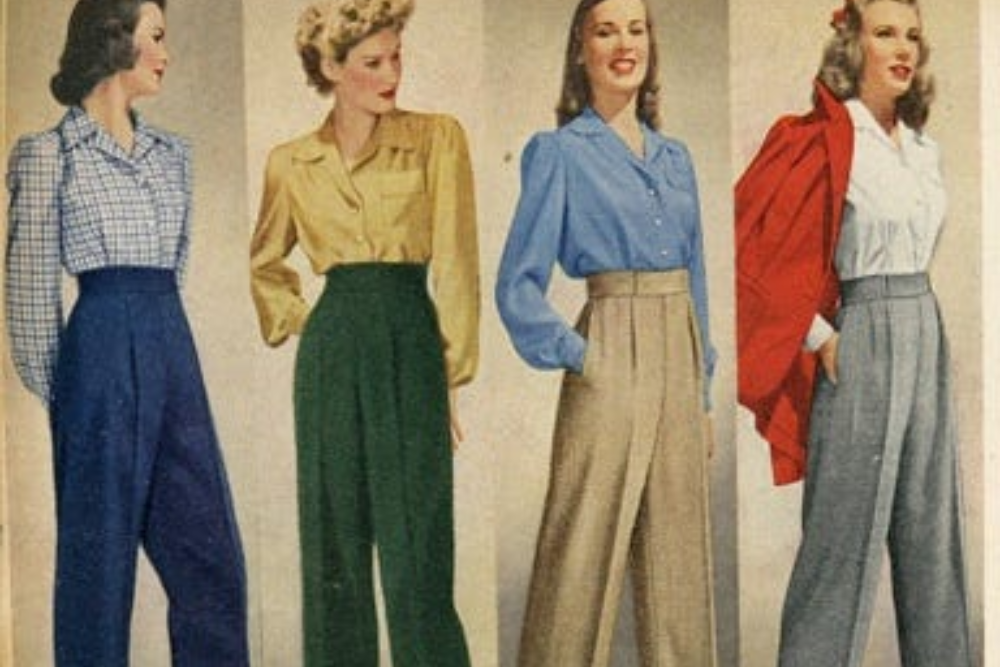
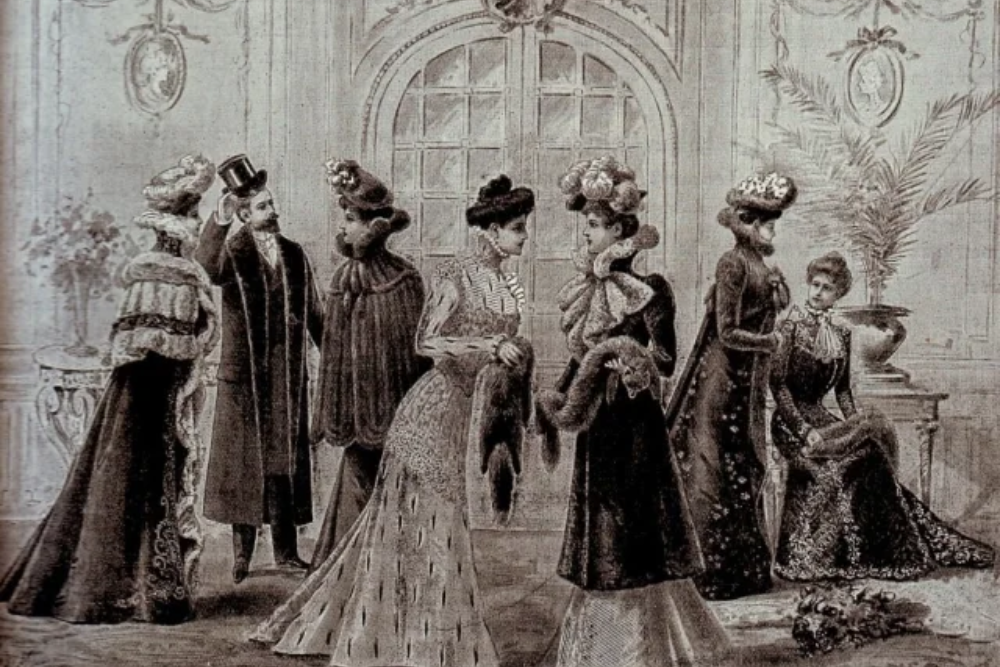
Fashion croquis have evolved alongside design trends. In earlier fashion illustration—especially from the early 20th century—croquis were drawn with extremely elongated limbs and elegant, swan-like necks, emphasizing grace and style. Designers like René Gruau and Erte pioneered the use of expressive, exaggerated figures in fashion art.
Today, fashion croquis may be more diverse, representing different body types, genders, and ethnic backgrounds, but the stylized approach remains. Modern croquis are now created both by hand and digitally, reflecting changes in both technique and inclusivity in the fashion world.
- Tools and Materials Needed
Before you start drawing a croquis, gather the following tools:
Traditional Tools:
- Sketchpad or drawing paper
- Pencils (2H, HB, 2B)
- Ruler
- Erasers (kneaded and standard)
- Compass or measuring tools (optional)
- Tracing paper (for duplicating your croquis)
- French curve or flexible ruler (for smooth curves)
Digital Tools:
- Tablet (e.g., iPad with Apple Pencil, Wacom)
- Drawing software (Procreate, Adobe Photoshop, Adobe Illustrator, Clip Studio Paint)
- Grid or template layers for proportions
- Digital brush sets for line work and rendering
- Understanding Proportions: The 9-Head Rule
In fashion illustration, croquis figures are intentionally exaggerated to create elegance and draw attention to garments. The most common method to maintain correct proportions is the “9-head” or “10-head” rule, where the total height of the figure is equal to nine or ten times the height of the head.
Typical 9-Head Croquis Proportions:
| Head Count | Body Part |
| 1 | Top of the head to chin |
| 2 | Neck and shoulders |
| 3 | Bust/chest |
| 4 | Waist |
| 5 | Hips |
| 6 | Upper thigh |
| 7 | Mid-thigh |
| 8 | Knees |
| 9 | Mid-calf |
| 10 | Feet |
These proportions serve as a guide. Once you’re comfortable, you can adjust them slightly for different styles, poses, or body types.
- How to Draw a Fashion Croquis (Step-by-Step)
Step 1: Draw the Head
- Start with a vertical line (spine guide) through the center of your page.
- Sketch an oval or egg shape at the top—this is the head.
- Use this head as your unit of measurement.
Step 2: Mark the 9-Head Grid
- Use a ruler to divide the vertical line into 9 or 10 equal sections (based on head height).
- Lightly draw horizontal guidelines across the paper at each division.
Step 3: Sketch the Torso
- Between the 2nd and 4th lines, draw the shoulders, bust, and waist.
- Shoulders are about 1.5 head widths wide.
- The waist narrows at the 4th line.
Step 4: Draw the Hips
- From the 4th to 5th line, draw the hips.
- The hips should flare slightly and be roughly equal in width to the shoulders.
Step 5: Sketch the Legs
- Legs span from the 5th to the 10th head line.
- Thighs: 5th to 7th lines.
- Knees: at the 7th line.
- Calves and ankles taper from 7th to 10th lines.
- Feet extend just below the last line.
Step 6: Draw the Arms
- Arms start at the shoulders (2nd line).
- Elbows align with the waist (4th line).
- Hands reach mid-thigh (just below the 5th line).
Step 7: Add Details
- Lightly draw neck, collarbones, joints, and light muscle contours.
- You can now add a face, if desired, though most fashion croquis keep the head featureless or stylized.
Step 8: Clean It Up
- Erase unnecessary guidelines.
- Strengthen important lines with a darker pencil or fineliner.
- You now have a completed fashion croquis ready for clothing!
- Drawing Different Poses
Once you’ve mastered the front-facing pose, experiment with other dynamic or editorial poses:
Three Common Pose Types:
- Front Pose – Ideal for clear garment detailing.
- ¾ Pose – Offers a more natural, dynamic angle.
- Side View – Useful for designs with strong silhouettes or back detailing.
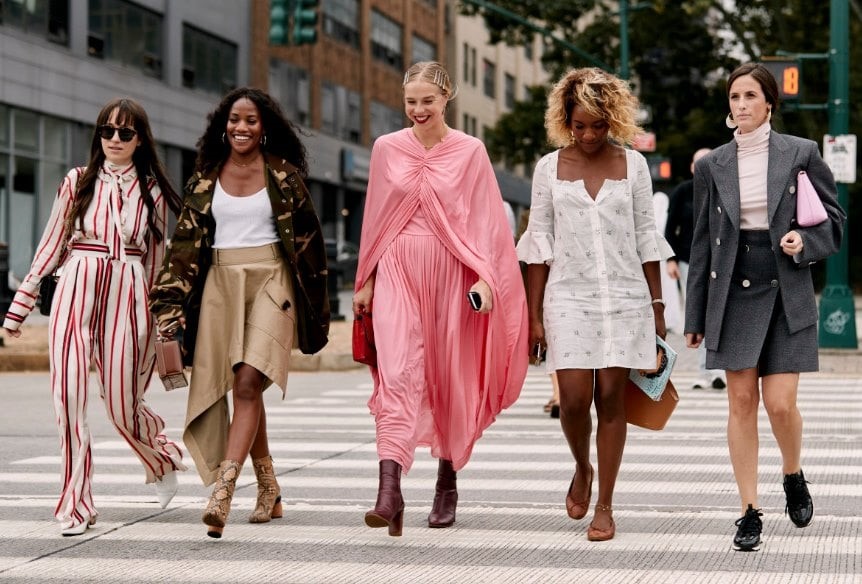
Use references from fashion magazines, runway shows, or poseable artist mannequins to study balance, weight distribution, and gesture. Over time, your croquis will become more fluid and expressive.
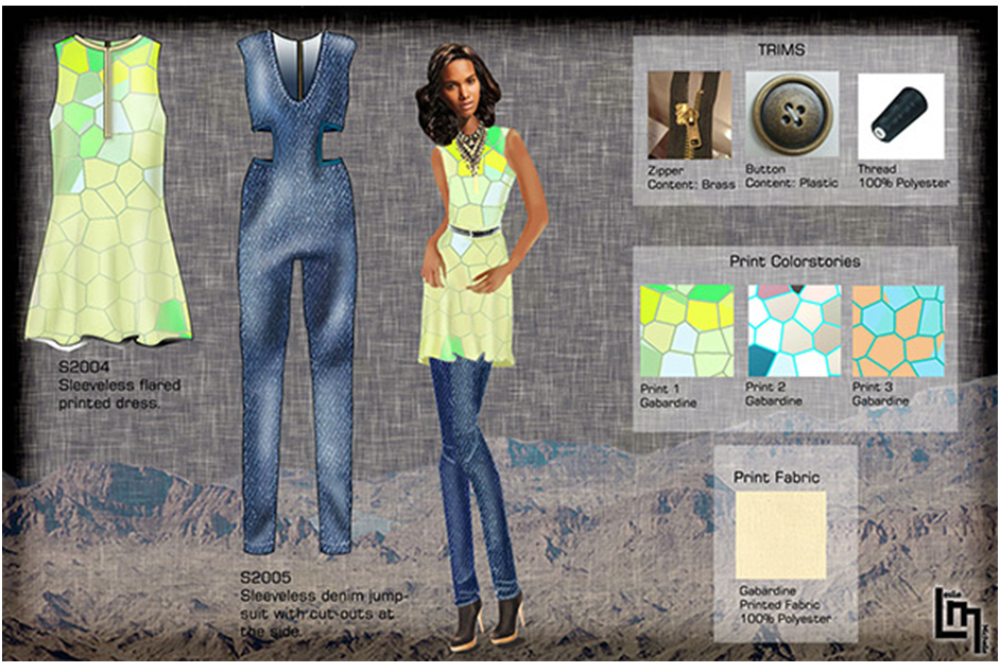
- Using Croquis for Design Sketching
Once your croquis is drawn, use it as a base for your clothing designs. Place tracing paper over it or use a new layer in digital software, and start sketching garments. Focus on how the fabric falls on the body—observe folds, draping, and movement.
Key Garment Elements to Add:
- Necklines
- Sleeves
- Seams and darts
- Hemlines
- Fabric texture and patterns
- Accessories (shoes, hats, belts)
Once your outfit is sketched, consider rendering it with color and shading to bring it to life.
- Digital Croquis and Templates
Benefits of Digital Croquis:
- Easily reusable for multiple designs
- Adjustable and modifiable
- Can be printed or shared online
- Compatible with design software (Photoshop, Illustrator)
Many designers create a few “base croquis” templates and simply layer outfits over them. You can also download free or premium croquis templates online, though creating your own ensures you develop your own style.
- Male, Plus-Size, and Inclusive Croquis
Fashion is evolving—and so are croquis. Modern fashion illustration embraces all body types, genders, and ethnicities. Drawing different croquis not only reflects this inclusivity but also challenges you creatively.
Male Croquis:
- Broader shoulders
- Narrower hips
- Less exaggerated height (8–8.5 heads)
- Stronger jawline
Plus-Size Croquis:
- Fuller arms, thighs, waist, and bust
- Realistic proportions
- Emphasizes inclusivity in fashion collections
Using inclusive croquis allows designers to better envision how garments will look on different body types and make fashion more accessible.
- Tips for Improving Your Croquis Skills
- Practice daily – Even 10–15 minutes a day will build muscle memory.
- Use references – Study real models and fashion poses to understand flow.
- Keep a croquis sketchbook – Build a library of poses for quick use.
- Explore different styles – Don’t be afraid to stylize your croquis—some are minimalistic, others painterly.
- Take life-drawing classes – Great for improving anatomy and gesture.